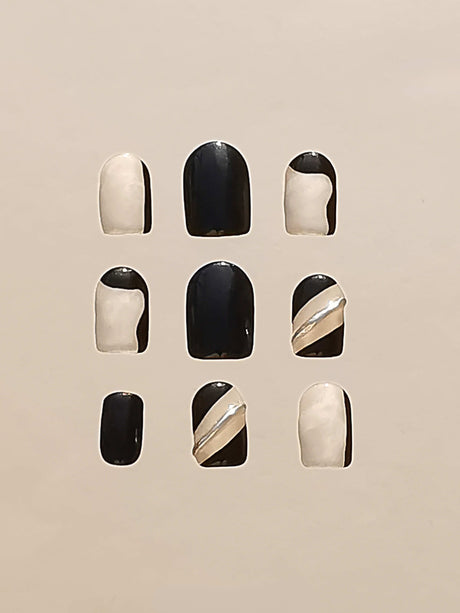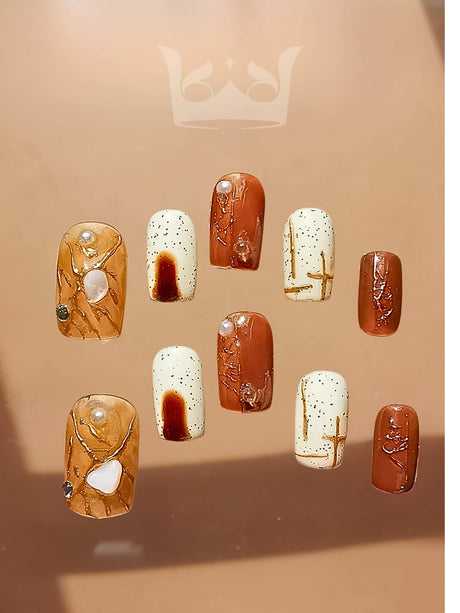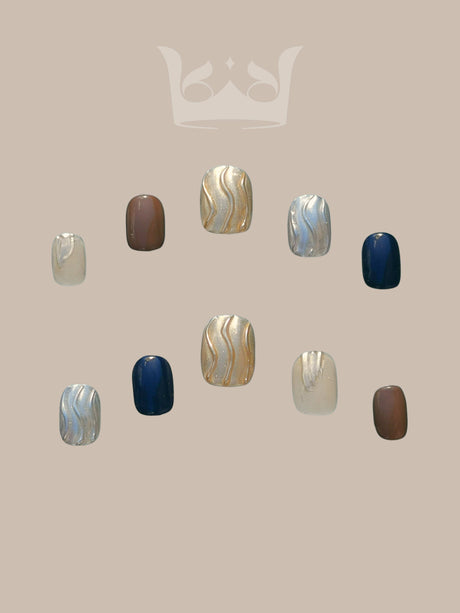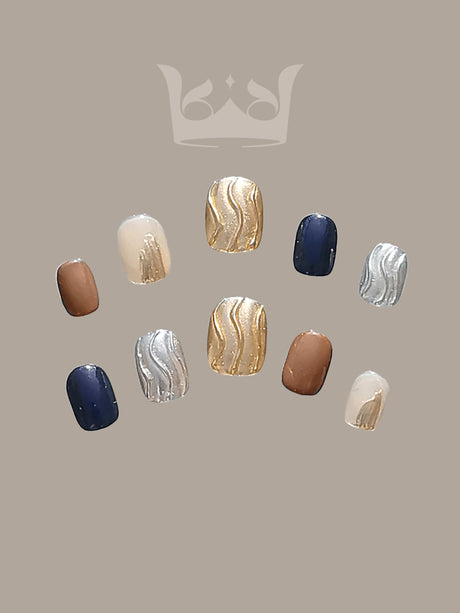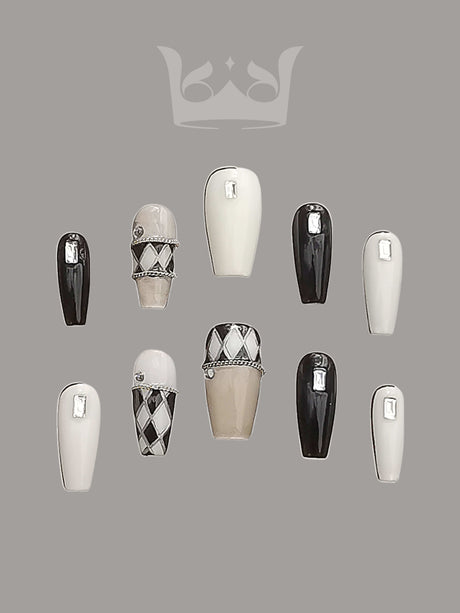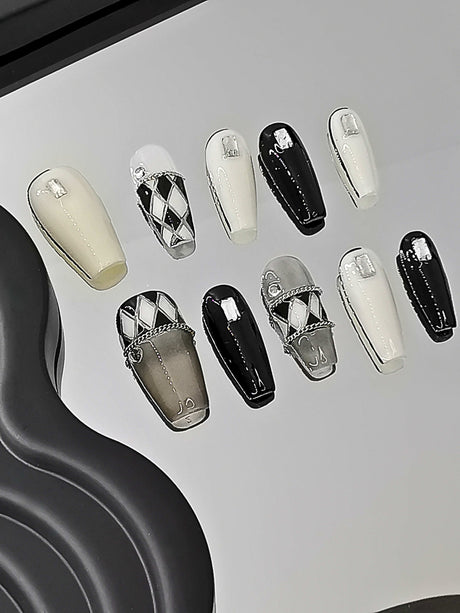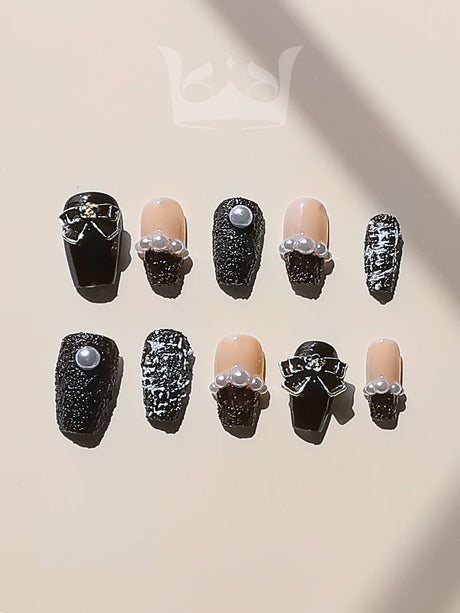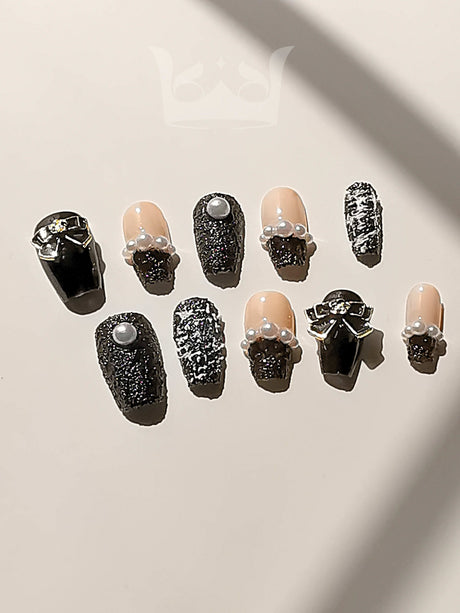
♥ ♥ "The new nail industry standard" - Emyly ♥ ♥ "Effortlessly chic is never this easy on my tips" - Bonnie

Guide to the Jelly Glue Application

We Only Use Glue Safe For Your Nails ;)

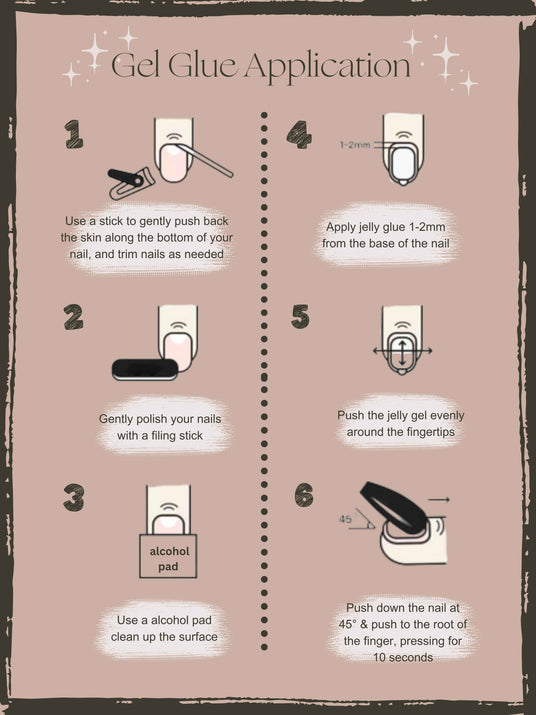
Prepping Your Nails:

Clean and Dry

Before starting the application process, ensure that your natural nails are free from any oils, lotions, or residual glue. These substances can create a barrier, affecting the adhesion of the press-on nails.

Buffing

Gentle buffing of the nail surface can enhance adhesion. Use a nail buffer to lightly buff the natural nail, creating a slightly textured surface for the glue to grip onto. Caution against excessive buffing, as it can weaken the natural nails. A light touch is sufficient to promote better adhesion without causing damage.

Pushing Back Cuticles

- Use a cuticle pusher or a wood stick to push back your cuticles. Pushing back the cuticles serves to create a more extended and cleaner nail bed, providing a better surface for the press-on nails to adhere to.

Applying the Jelly Glue:

1. Size Matters:

   - Match your nail with the gel sheet, choose a size slightly smaller than your nail – too little may result in weak adhesion, while too much can cause a mess.

2. Aligning the Nail:

   - Apply jelly glue 1-2mm from the base of the nail.

   - Ensure that the gel is evenly distributed, and there are no air bubbles left in between. Use the wood stick to push out air if necessary.

   - Make sure to remove the plastic on the surface once the glue is applied to your nails.

3. Press and Hold:

   - Push down the nail at a 45° angle and push to the root of the finger.

   - Press each nail for 10 seconds.

Learn How to Apply Your Nails That Last More Than 2 Weeks

Pro Tips:

1. If you want your nails to stick stronger and longer, use a hair dryer's hot air to warm the gel glue for 5 seconds. Apply when the glue is slightly soft; the nails could last about 2-3 weeks.

2. Avoid water for at least 3 hours.