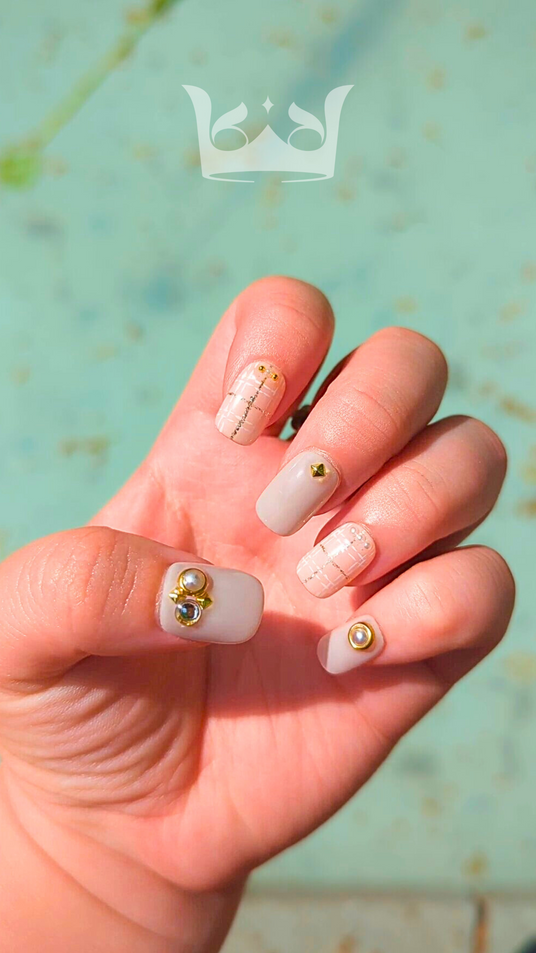
Ultimate Press-On Nail Measurement Guide: Measure Your Nails with Ease!


Before diving into measurements, it's essential to understand basic nail structure. Your natural nail consists of the nail bed, nail plate, and free edge. Familiarize yourself with common nail shapes like almond, square, and oval, as these will impact your sizing choices.
Choosing the right size for your press-on nails is crucial for both aesthetics and comfort. Well-fitted nails not only look more natural but also last longer. Ill-fitting nails can lead to discomfort, premature lifting, and a less polished appearance.
To measure your nails accurately, you have several options:
1. Using a ruler or tape measure:
Measure the width of your nail at its widest part; Measure the length from cuticle to tip
2. Nail sizing kits:
These kits come with pre-sized artificial nails to help you find your perfect fit
3. Digital measurement tools and apps:
Some brands offer apps that use your phone's camera to measure your nails
1. Clean and prep your nails
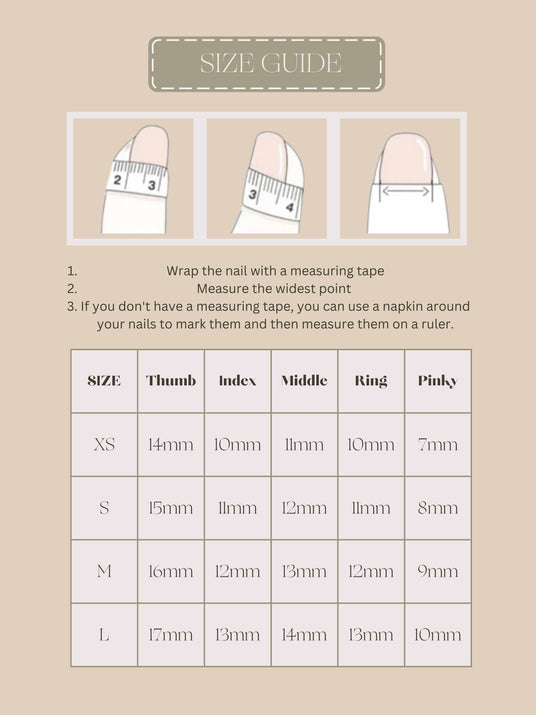
2. Use a ruler or measuring tape to find the widest part of your nail
3. Measure the nail width in millimeters
4. Repeat for each finger, including your thumb
5. Record your measurements for future reference
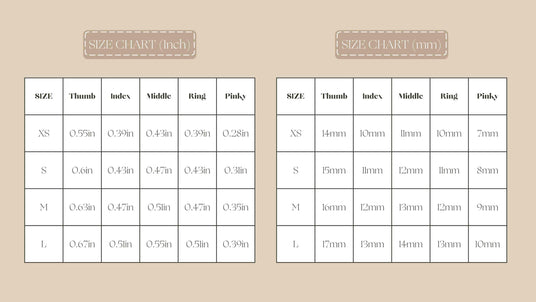
Most press-on nail brands provide nail size charts to help you select the right fit. These charts typically show nail sizes in millimeters or inches.
To use them effectively:
1. Compare your measurements to the chart
2. Choose the size that most closely matches your natural nail
3. Remember that you may need different sizes for different fingers
When selecting nail sizes, consider:
1. Your finger size
2. Natural nail bed width
3. Desired length - Nail shape and design
Tip: For a more natural look, choose sizes that closely match your nail bed width.
Different nail shapes can affect how you choose your sizes:
